Sunday 17 June 2012

Hummingbird Cake for Father's Day


I presented my dad will our small library of baking books and said ‘pick one’ for me to make for Father’s Day. He chose this recipe from a beautiful book ‘The Hummingbird Bakery Cookbook’ full of delicious recipes from the popular Hummingbird Bakery down Portobello road. This cake is really 
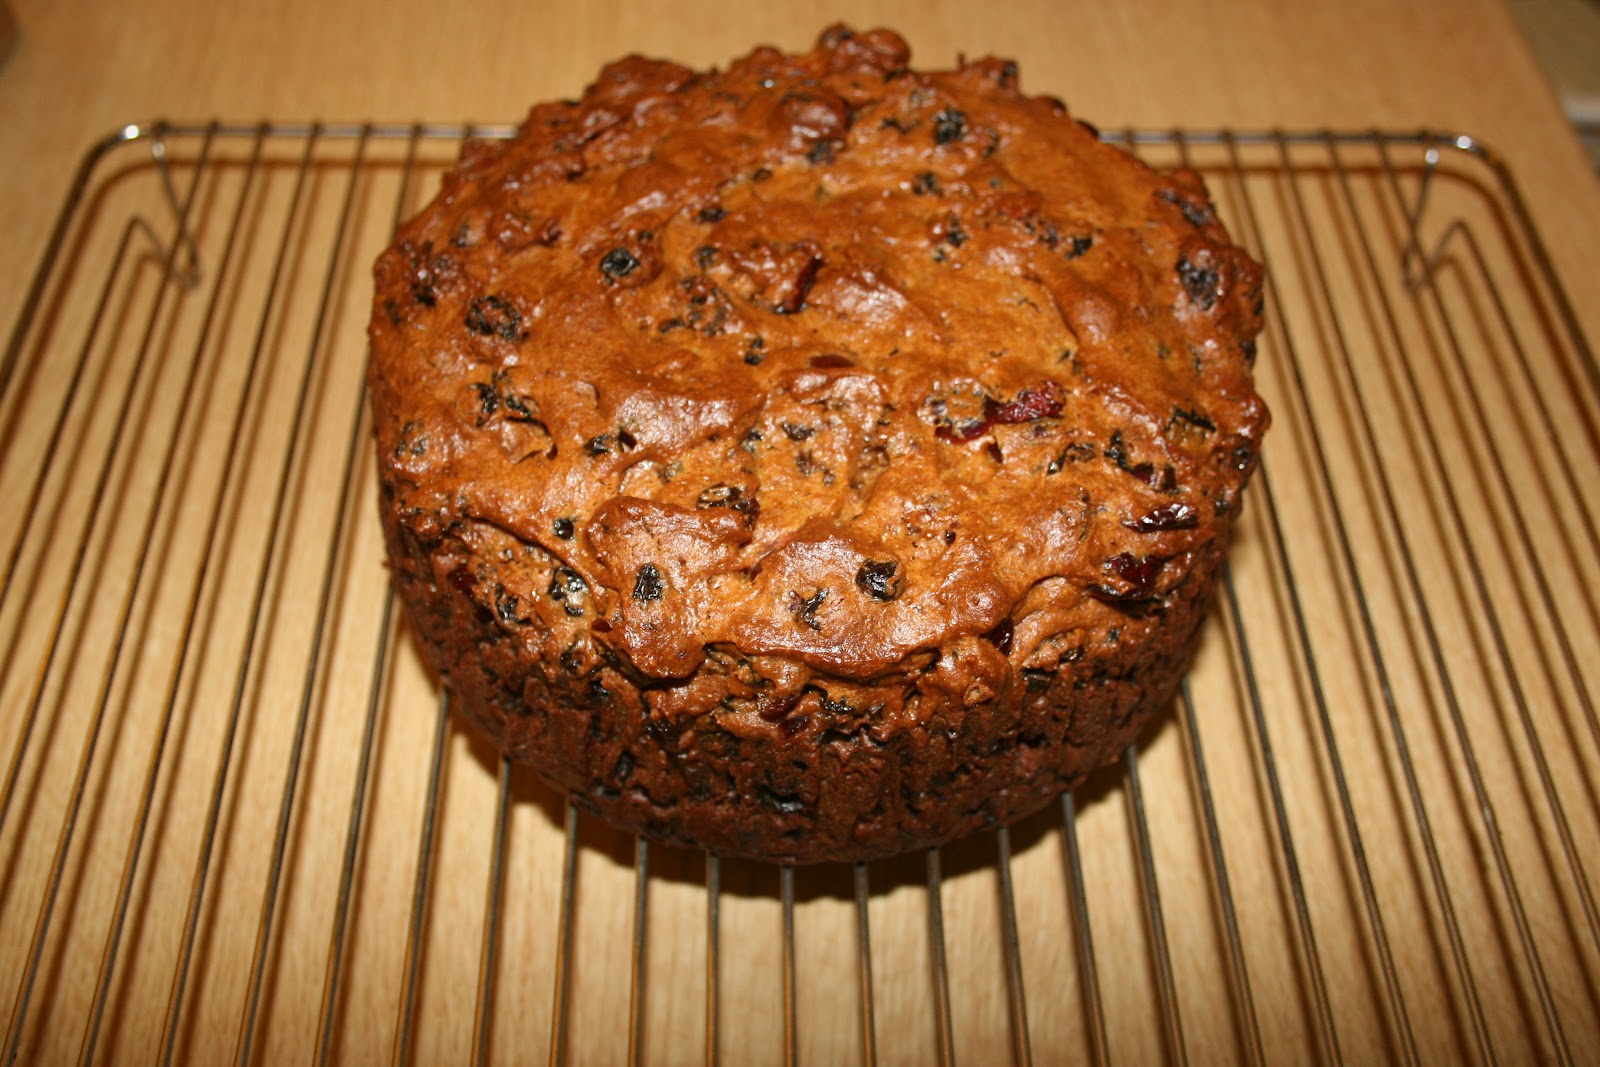
moist from the fruit and just all around lovely. Dad certainly liked it anyway.
Ingredients
300g caster sugar
3 eggs
300ml sunflower oil
270g bananas, mashed
1 tsp ground cinnamon
300g plain flour
1 tsp bicarbonate of soda
½ tsp salt
¼ tsp vanilla extract
100g tinned pineapple, finely chopped
100g pecan nuts (although I used walnuts because I like them better)

Cream Cheese Frosting
600g icing sugar
100g unsalted butter, at room temp
250g cream cheese, cold
Preheat the oven to 170C/gas mark 3. Line 3 20-cm cake tins with baking parchment. In a large mixing bowl combine the sugar, eggs, oil, banana and cinnamon using an electric whisk.


Add the bicarbonate of soda, salt and vanilla extract and combine. Add the flour in small batches, beating until all the ingredients are well incorporated.

Finely chop the walnuts and pineapple. Add them to the mixture and stir in using a spatula.


Split the mixture between the three tins, using the spatula to even out the surface. Bake in the oven for 20-25 minutes or until golden brown and springy in the middle. Cool cakes on a wire rack.


While the cakes are cooling make the cream cheese frosting. In a large bowl beat the icing sugar and butter together until mixed. Add all the cream cheese and beat for at least 5 minutes until fluffy.


When the cakes are cooled place the bottom layer on a cake stand and spread a quarter of the icing on top. Repeat this with the second layer. Place the final layer on top and cover the cake completely with the remaining icing. Decorate the top with some walnuts halves and a sprinkling of cinnamon.


Warning: Consuming one slice of Hummingbird Cake may lead to a second slice…
P.S. I’m off on a jolly around Eastern Europe tomorrow for 3 weeks so this will be the last recipe for a while! I’m hoping I’ll get to eat lots of goodies though, especially in Vienna, so look forward to some travelling inspired recipes : )


Saturday 16 June 2012

Chocolate Orange Spiced Cookies


We wanted something to take up to my sister’s, and probably eat on the four hour journey up there, so bite-sized cookies were ideal. I am mildly in love with chocolate oranges so any baked goods with that flavour combo are right up my alley.
Ingredients (makes around 50 small cookies)
100g icing sugar
120g butter
2 egg yolks
40g dark unsweetened cocoa powder
120g plain flour
2 tsps vanilla extract
1 tsp cinnamon
1 pinch nutmeg
Pinch salt
Zest of orange
For drizzle
Juice of the orange
Icing sugar
In a large mixing bowl cream the butter then sift the icing sugar, spices and cocoa and mix until fluffy.


Add the egg yolks, vanilla, salt and orange zest and combine everything together.

Sift the flour and stir the mixture together until the flour is well incorporated.

Spoon the dough into two large pieces of cling film and roll into logs. Place in the fridge to chill. The recipes I looked at suggested at least 2 hours but my mixture was still very soft after that long so I would suggest leaving them to chill overnight.
Preheat the oven to 180C. Remove the logs from the fridge and use a sharp knife to cut slices around 5mm. Alternatively, roll the dough out and use a cookie cutter. Place the cookies onto baking trays lined with baking parchment. Bake for 10-12 minutes or until firm, then cool on a wire rack.


While the cookies are cooling mix the juice of the orange with some sifted icing sugar until it forms a glue like consistency. Drizzle over the cookies then eat!


Note: My mixture was really runny, almost cake mixture like, so I worked in extra plain flour until the dough became manageable. This made the cookies quite dry, although fine with a cup of tea. I originally thought my mixture was so sloppy because I didn’t chill the dough for long enough BUT I only realised as I was writing this that the recipe requires ‘two egg yolks’…I definitely just shoved two whole eggs in without noticing the egg yolk part so I think this might be to blame. Lesson of the day, as always with me, READ THE FLIPPING RECIPE.


Monday 11 June 2012

Mary Berry's Quick Boiled Fruit Cake


Mum and I are venturing north tomorrow to pick up eight years’ worth of junk from my sister’s house in York. She’s decided to move back down to London but seeing as I, the youngest sibling by a good six years, am the only one of us that can legally drive; I’ve got to mission it up there to help her move. This means leaving the men to fend for themselves which they get very grumbly about and usually ends in a stack of Dominoes boxes. I thought I’d make a cake to leave for them because I’m far too nice for my own good (definitely not because I just wanted to try a new recipe out).

I figured since I wouldn’t actually be eating it I’d make something I didn’t like that much: fruit cake. I don’t get fruit cake. Christmas is a pudding nightmare for me. Cake is supposed to be fluffy and buttery and taste nice. Fruit cake is just…bleurgh. I’ve been assured however by my mother that this fruit cake is delicious for you mad people who actually like it, because of the condensed milk.

Also just a quick note, as you can tell from my title, this is another recipe from my much beloved copy of Mary Berry’s Baking Bible.
Ingredients
397g can of condensed milk
150g butter
225g raisins
225g sultanas
175g currants
175g roughly chopped glacier cherries (although I used half cherries half cranberries because I ran out)
225g self-raising flour
2 tsps ground mixed spice
1 tsp ground cinnamon
2 large eggs
Preheat the oven to 150C/ Fan 130C/ gas mark 2. Grease an 18cm round cake tin and line with baking parchment. Following advice from my mum I also wrapped the outside of the tin with brown paper so the outside of the cake wouldn’t burn.

Pour the condensed milk and butter into a large heavy-based pan and add all the fruit. Gently heat until the butter has melted, stirring all the time. Simmer the mixture gently for 5 minutes, stirring all the while until the fruit feels softened. Remove from the heat and set aside to cool for at least 10 minutes, stirring every now and again.


In a large mixing bowl sift the flour and spices. Mix them together then make a well in the centre.
Add the eggs and the cooled fruit mixture. Combine everything together using a wooden spoon then turn into your prepared tin.


Bake in the oven for around 1 ¾ - 2 hours. The cake should be well risen and golden-brown. To make sure it’s cooked properly insert a skewer into the middle which should come out clean if the cake is baked completely. Once out the oven, leave the cake to cool for about 10 minutes in the tin before removing the parchment and cooling on a wire rack.


I tried a piece and although it wasn’t nearly as awful as I imagined, I simply ‘aint a fruit cake type of girl. I’ll just have to pop into Betty’s Tea Room while we’re in York and get a real cake…what a shame.

Sunday 10 June 2012

Raspberry and White Chocolate Blondies


My dad came up to me earlier, face full of concern. “I saw Stork and eggs in the kitchen…you’re not baking AGAIN are you?” My reply of furtive silence was met by him screaming “you’re OBSESSED.”

You’d think I was snorting crack cocaine or something the way he went on about it. I admit I have baked a lot this week, but I’ve just been so darn excited by all the EGGS and SUGAR and things I can’t afford at uni. So sorry dad, but I promise I’ll give these away to other people and not torture you by filling the kitchen with tasty things…grumblegrumblegrumble.

Anyway, I am a big fan of the humble brownie, or anything involving chocolate really. When I caught wind of the blondie I had a sort of mini baking spaz attack. I have no idea why I’ve never come across them before but there’s no going back now…
Ingredients
200g butter
150g white chocolate, roughly chopped
300g light muscovado sugar
3 large eggs
200g plain flour
¼ tsp salt
Scraping vanilla bean paste
125g raspberries
Preheat the oven to 170C/gas mark 4. Butter and line a rectangular tin with baking parchment. The one I used ended up being a bit too shallow, so I suggest a deep sided one to avoid my panic stricken oven watching to see if the mix would spill over the sides.

Melt the butter in a saucepan over a gentle heat and cook for around 5 minutes until it turns a lovely golden brown. Cool for a few minutes before adding half of the white chocolate. Leave it to melt for a bit before stirring until smooth. Leave to cool to the side.


Use an electric whisk to mix the muscovado sugar and eggs for about 3 minutes in a large mixing bowl.

Add the flour, salt and vanilla and fold in using a spatula.


Finally add the cooled chocolate butter and fold in gently with the spatula until combined.
Pour the mixture into the tin then sprinkle the other half of the chocolate and raspberries on top.
Bake for 40-45 minutes or until dark golden on top.
Leave to cool completely in the tin before cutting into 15 large squares or 30 smaller ones.


My blondies had more of a dense cake texture than a brownie one. I’m not sure what blondies are meant to be like having never made them before but they tasted amazing even if they weren’t quite right!