It was my parent’s wedding anniversary on Friday, so
obviously I had to make a cake. They’ve been married for 33 years. I don’t even
know that I’ll still like my purple Doc Martins in 33 years’ time, let alone
another human being. I suppose I should feel happy and proud that there is
still such a thing as long, happy marriages in this day and age but really it
just freaks me out a bit. At my age my mum had already been married for a year…
Anyway, back to the cake, there was a recipe in The Great
British Bake Off’s Showstopper book that I really wanted to try out- Checker
Board, or Chess Board cake. The original recipe is a mix of vanilla and
chocolate, but seeing as it was for their anniversary, I had to go pink.
I was so impressed with this cake. I really, genuinely didn’t
think it was going to work. Especially because I had such a nightmare with
nozzles/no nozzles/piping bags in general, but it actually came out great and I’m
really pleased. Now don’t be put off by me moaning about it, because it really
is very easy in proportion to how good it looks when you cut into it.
Definitely one for a party if you want a bit of ‘wow factor’, without actually
putting that much effort in.


Ingredients
350g unsalted butter
350g caster sugar
1tsp vanilla extract
6 large eggs
350g self-raising flour
Pinch of salt
Pink and red gel food colouring
To decorate
Butter
Icing sugar
Strawberries
Strawberry jam
Preheat the oven to 180⁰C. Prepare 3 20.5 cm sandwich tins
by greasing the edges and covering the bottoms in baking parchment. (I didn’t
bother reading the recipe properly and just greased the tins and lightly dusted
them with flour and they came out just fine).


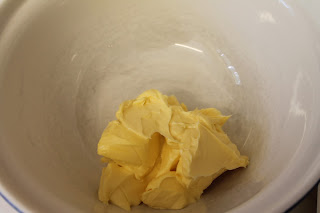
Add the butter to a large mixing bowl and beat until light
and fluffy using an electric hand-held whisk.


Beat in the caster sugar.


Add the eggs, one at a time, with a spoonful of flour to
avoid curdling the mixture. Add the vanilla extract here too.


Sift the flour and salt into the bowl and carefully fold it
in until thoroughly combined.


Move half the mixture into a separate bowl.


Add the gel colouring to the mixture, making sure it’s all
mixed in properly. I found that the hot pink gel wasn’t really making enough of
a difference so I added some red as well and it made a lovely bright colour. Be
warned that it does take almost a whole tube of gel colouring to get a decent
colour.


This is where it gets a bit messy. I didn’t have two piping
nozzles the same size so I thought it would make more sense to just cut the
ends off of two disposable piping bags at the same point. It did work but I didn’t
cut them big enough and there was a panic moment. It should be done with 1.5cm
piping nozzles so make of that what you will about how far along to cut the
bag. Fill one bag with the white mixture and one with the pink. A good tip my
mum showed me about filling piping bags was to stand them in tall glasses.


In two of the cake tins pipe alternate rings of mixture,
starting with the pink on the outside edge. The original recipe says you should
do 4 rings, but I somehow ended up with 4 and a blob of the other colour in the
middle. It doesn’t really matter as long as they are all consistent.


In the third tin pipe alternate rings, beginning this time
with the white on the outside.
Bake them for 25-30 minutes or until springy to the touch
and cooked through. Cool them on a wire rack.


To make the icing cream a large knob of butter in a mixing
bowl using an electric whisk. Sift large spoonfuls of icing sugar, whisking in
between. Chop the stems off of a handful of strawberries and slice into small
chunks. Fold them into the icing, which will add a lot of moisture which makes
the mixture sloppy, so sift in as much icing sugar as you need until the
buttercream holds its shape.


Slap a bit of icing onto a nice plate or cake stand to help
the cake stay in place. Put one of the cakes starting with the pink ring on the
outside to act as the base layer of the cake.


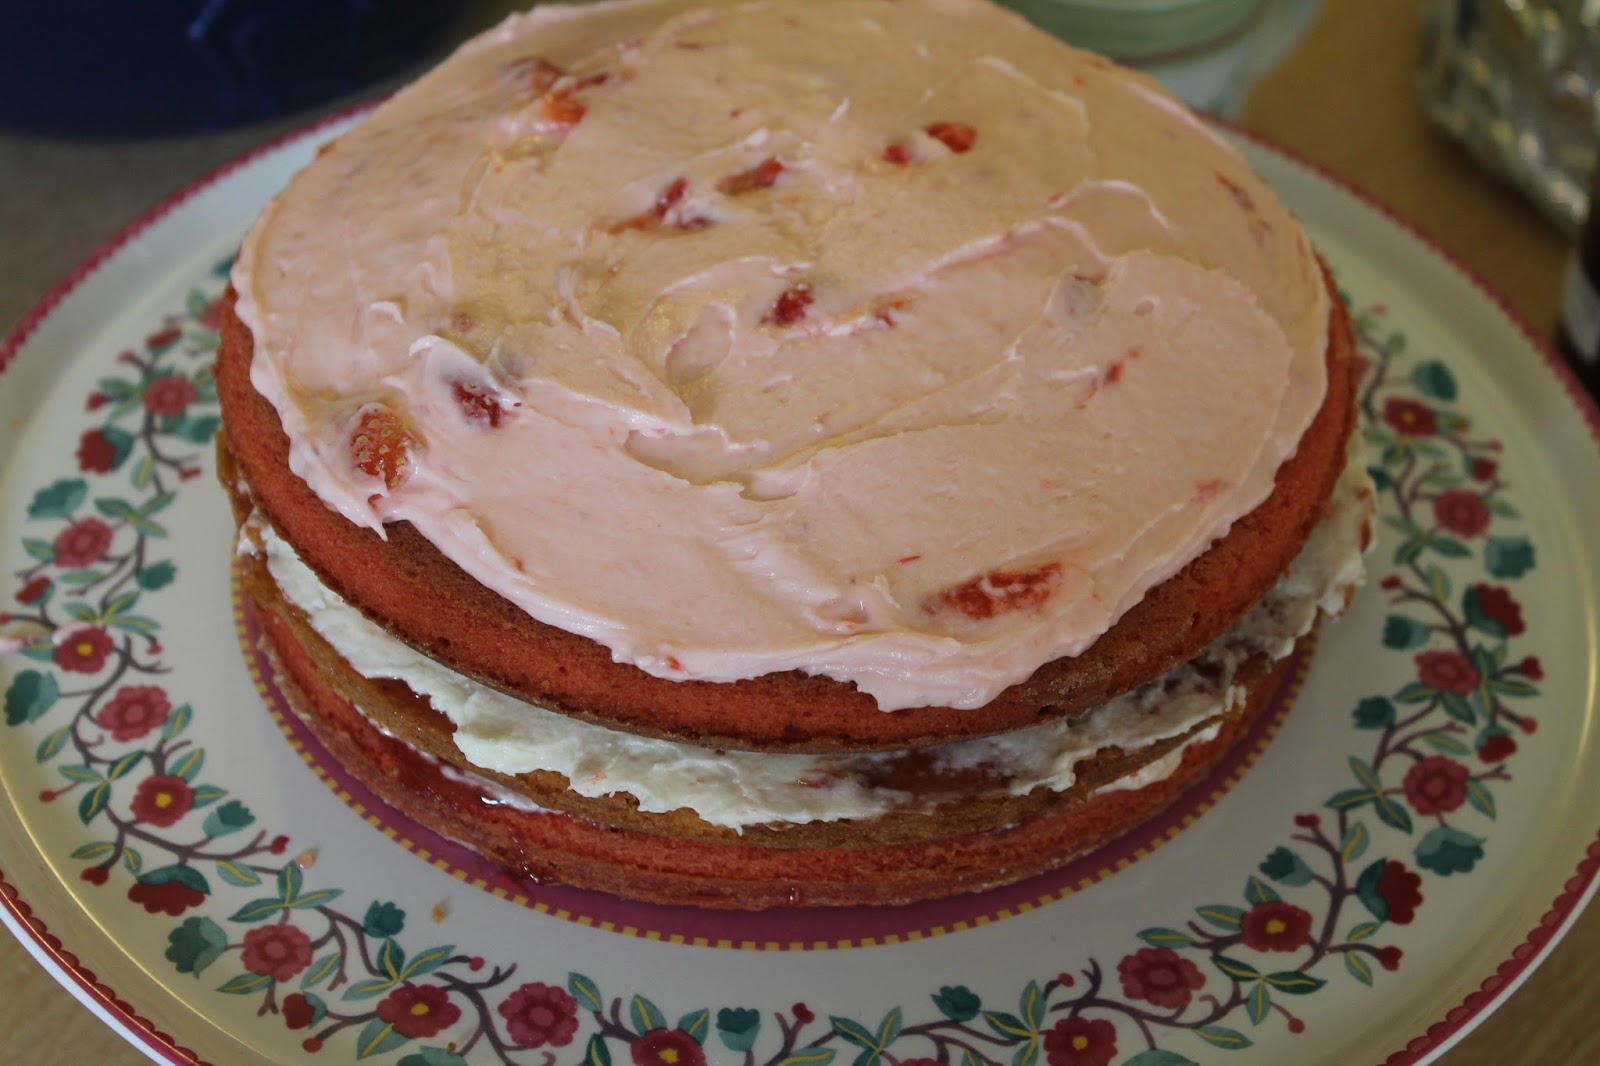
Cover this in a layer of jam and icing, and then place the
cake layer with the white ring on the outside on top. Repeat this with the last
layer of cake.


Cover the entire cake in icing. Use a piping bag to pipe
some beading detail around the edge of the cake. I then sliced the middle
section out of some strawberries to decorate the outside edge, and placed some
strawberries on top. You can decorate this cake however you like because the
magic happens when you cut into it!


No comments:
Post a Comment