I made this
for two of my friend’s birthdays, but I don’t think they minded sharing since
it was an absolute monster of a cake. It’s really sweet so I’d recommend
swapping the buttercream filling for something else if sugary is not to your
taste. Bear in mind for the measurements below that I first weighed the eggs
and then weighed the same amount of flour, sugar and butter so it depends
entirely on how heavy your eggs are.
Ingredients
6 eggs
13oz self-raising flour
13oz caster sugar
13oz butter
3tsps baking powder
Vanilla bean paste
Cocoa powder
Chocolate extract
(optional)
Red food colouring
Strawberry jam
Strawberry essence
(optional)
To decorate
Butter
Icing sugar
Crème cheese
Vanilla essence
Cocoa powder
Strawberry jam
Sprinkles
Pick N’ Mix chocolates
Begin by
preheating the oven to 180⁰C and lining three 20cm wide cake tins with
parchment.

In a large
bowl combine the butter, sugar, eggs, flour and baking powder using an electric
hand-held whisk until smooth.


Split the
mixture evenly into three.

To the first
mixture add half a tsp of vanilla bean paste, and stir through until evenly
distributed. Pour into the first tin.


To the
second mixture add a large dollop of strawberry jam, a small drop of strawberry
essence and some red food colouring. Adjust this depending on how pink you want
the mixture. If this adds too much moisture then add a couple of spoonfuls of
flour. Pour this into the second tin.


To the last
bowl add a small drop of chocolate extract if you have it, and a couple of
large spoonfuls of cocoa powder. You can add more or less depending on how
chocolately you like your cake. Pour this into the third tin.


Bake all
three in the oven for 30-35 minutes or until springy to the touch and a skewer
inserted into the middle comes out clean. Cool on a wire rack.

To make the
icing first cream a large knob of butter until light and creamy.


Sift in
large spoonfuls of icing sugar, adding small splashes of milk if the mixture
becomes too thick. Add a small knob of cream cheese and mix until smooth.


Separate two
largish blobs of icing into bowls. Add cocoa powder to one, and strawberry jam
to the other.

Get a cake
stand or plate and plop a little blob of icing into the middle to help keep the
cake in place.

Place the
chocolate layer on the bottom and cover in the chocolate buttercream.


Add the
strawberry layer next and cover in the pink icing.


Add the
vanilla layer last.

Add a couple
of drops of vanilla extract to the remainder of the icing. Cover the whole
cake, including the sides in the vanilla icing.


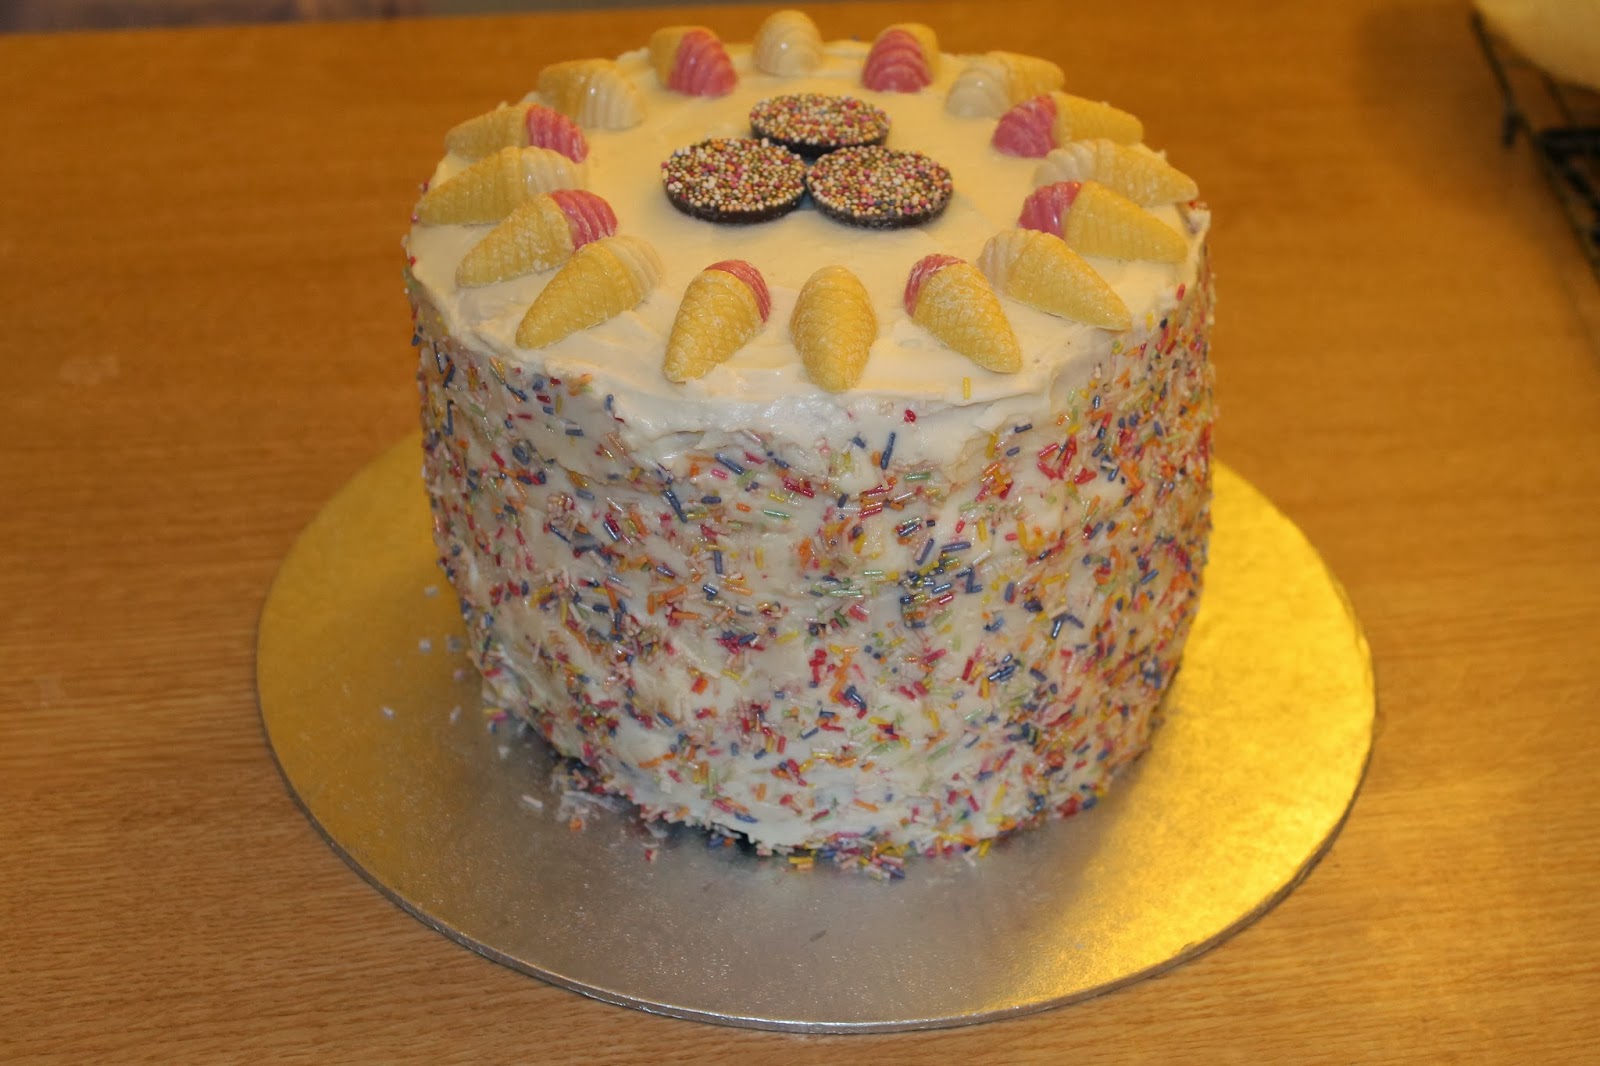
The next
step is to cover the sides in rainbow coloured sprinkles, so that it looks like
an ice-cream. I will admit that I had a bit of a ‘mare at this stage trying to
figure out how to get them to stick to the cake. Chucking handfuls of sprinkles
at it and hoping for the best is unsurprisingly not very effective. The best
way I found was by using a palette knife dipped in hot water. Then put the hot
knife into the tub of sprinkles and then smush into the cake. Do this all
around the side of the cake (it takes a lot of sprinkles).

I found some
little chocolate ice-cream cones in Wilkos which I used to decorate the top of
the cake, but it would look lovely with anything.


As you can
see from the photos, there is no such thing as a ‘small’ slice of this cake.


