Showing posts with label Decoration. Show all posts

Friday, 16 August 2013

Panda Cake


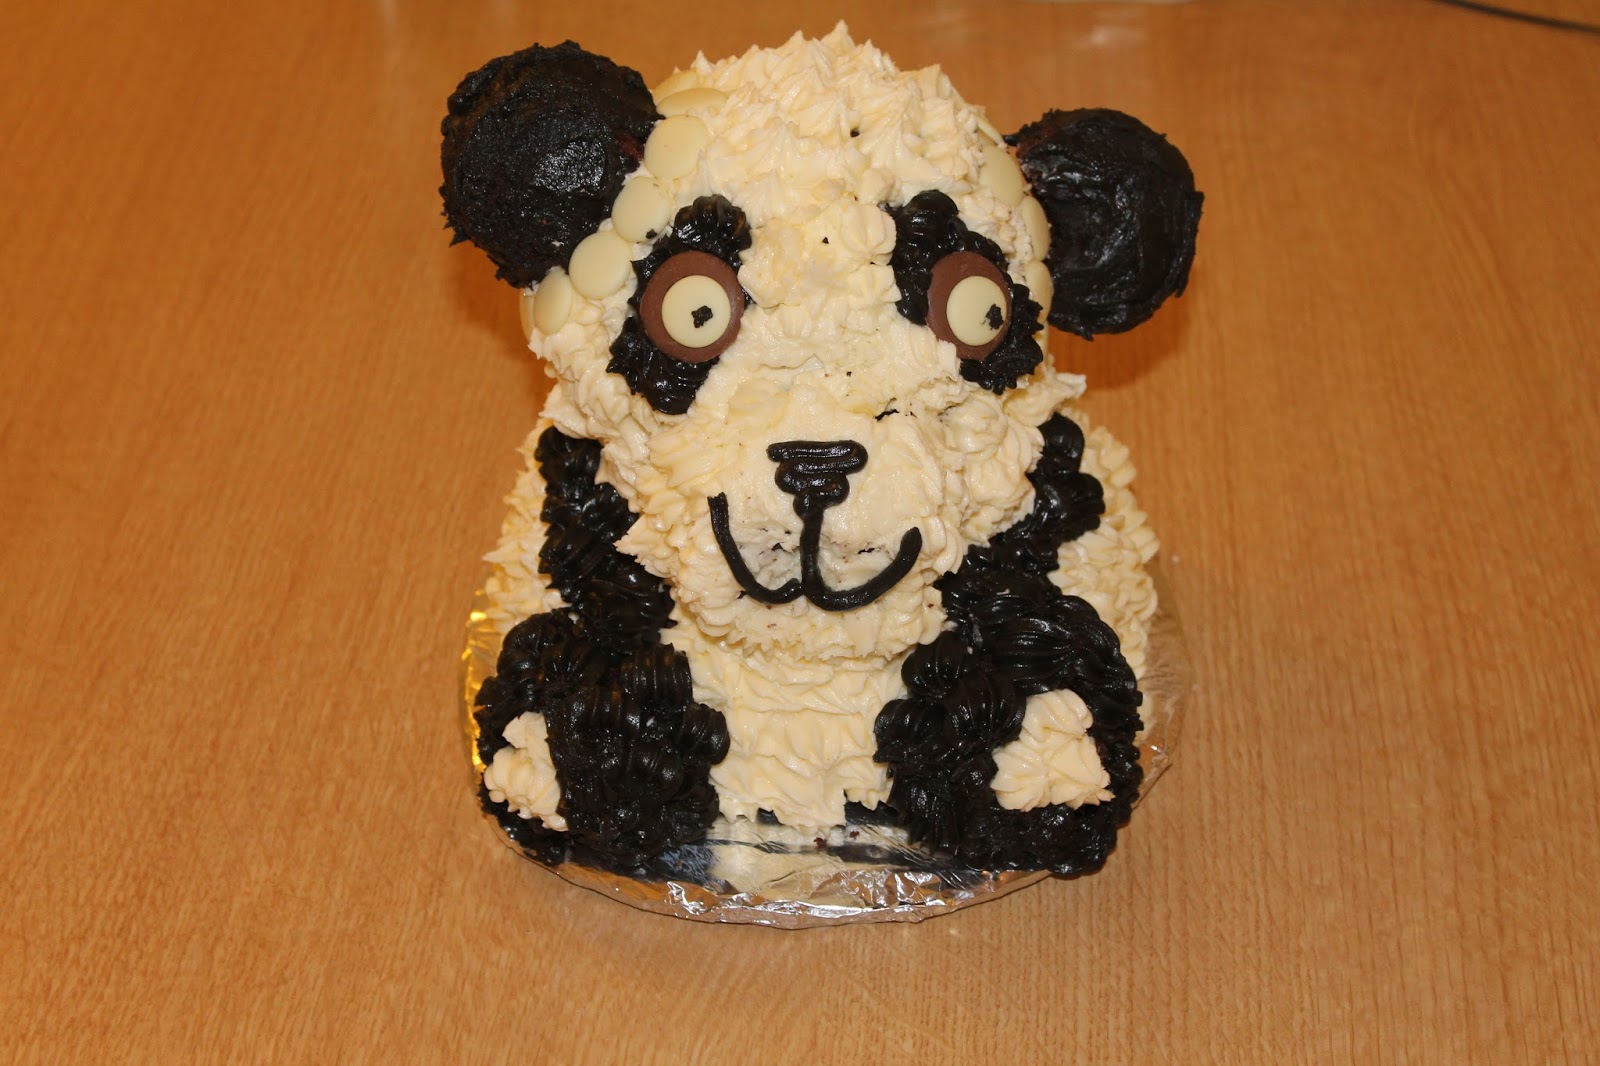
It was my lovely uni housemate’s 21st in August but I couldn’t be there to celebrate with her so I decided a cake was in order. If you met her you would understand the decision to make a panda cake. I think she might have been a panda in another life…It was pretty fun trying to assemble it as well, although transporting it across London was a tad treacherous (it only got slightly squished though so it’s all good).

Things that I learnt from making this cake: when assembling odd shaped cakes have a mass of cocktail sticks on hand.


Ingredients
8 eggs
13oz self-raising flour
16oz butter
16oz caster sugar
3oz cocoa powder
4 ½ tsp baking powder
To decorate
Lots of butter
Butt load of icing sugar
Cocoa powder
Black colouring
Milk and white chocolate buttons


Don’t panic about the massive amount of ingredients! I started off with a 6 egg mixture but I had to make a little extra afterwards for the small cakes, and there was some leftover.

Preheat the oven to 180⁰C. Firstly prepare a medium-sized pudding bowl and a small hemisphere pan by lightly greasing them all over, and dusting with flour.


I used my mum’s KitchenAid for this (my one’s in storage until I have my own kitchen again), but a large mixing bowl and an electric hand mixer will do the job just as well.

Cream the butter and sugar together until light and fluffy.


Add the eggs and mix again.


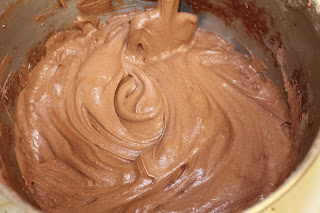
Sift the flour, baking powder and cocoa powder into the bowl and gently combine all the ingredients together to form a smooth batter.


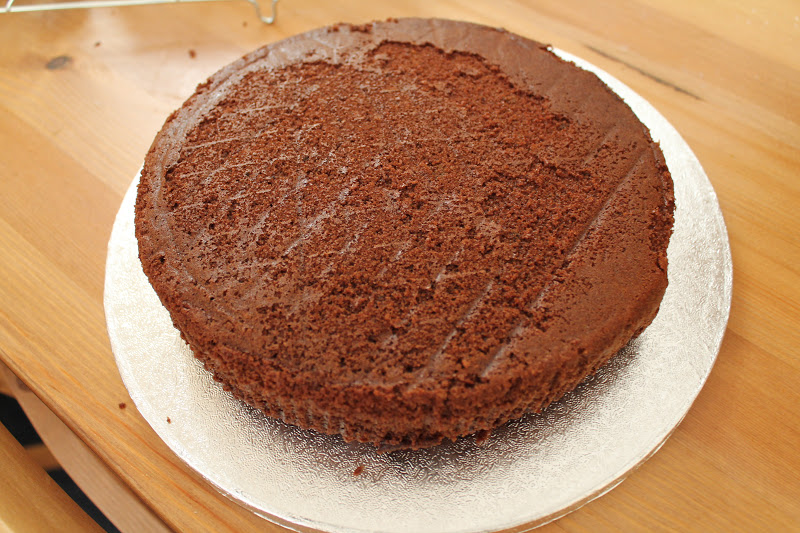
Fill the pudding bowl about ¾ of the way with batter and do the same with the hemisphere pan. Leave the leftover batter to the side, and bake these two in the oven until a skewer inserted into the middle comes out clean. For the pudding bowl this took about 1 hour 45 minutes, and the hemisphere pan took around 1 hour 15 minutes. After an hour I covered the pudding bowl one in foil to avoid burning the top. Leave to cool in the bowl/tin for at least 15 minutes before turning out onto a wire rack to cool.


When the hemisphere pan has completely cooled, wash it and prepare in the same way. Fill this with mixture. Prepare a cupcake tray with 12 cases and divide the remaining mixture equally between them. Bake the hemisphere pan as before and the cupcakes for 15-18 minutes or until springy to the touch. Leave everything to cool completely before you begin assembling/decorating.


To decorate you need a huge amount of icing. Start by making a standard white buttercream by mixing together butter and icing sugar until it reaches the consistency where it’s spreadable but will hold its shape.


I didn’t have any cake boards so I cut out a round of cardboard and covered it in tin foil to make the base. Slap a bit of icing onto the middle of it to give the cake something to stick to.


Place the pudding bowl cake, fat size down, onto the base. Have it slightly towards one edge so that there’s room for the feet.

Cover the top in icing then stick 4 cocktails sticks in a square into the top of the cake and gently press one of the hemisphere cakes into it. (Before this I had to trim the hemisphere cakes slightly to make sure they went together to create a round head shape.)


Cover that in icing then place the other hemisphere cake on top to create the head.

Get two of the cupcakes and cut a little crescent moon shape out of each side to make the ears. Plop some icing on the side of the head and on the cupcake where you want it to stick and firmly press together. Pop a cocktail stick through the ear and into the head to secure it. Repeat on the other side.


Shave the ‘muffin top’ bit off of a cupcake and secure onto the front of the head with icing and cocktail sticks to make the muzzle. (For some reason I forgot to take a photo of this bit, sorry.)

Adhere two cupcakes to the bottom of the pudding cake as with the ears to make the feet. You’re now ready to decorate!

Attach a medium-sized star nozzle to a piping bag and fill with the white buttercream.


Work your way around the cake, piping small blobs of icing. It helps to sketch a little doodle of which bits should be white and which should be black. The white is the head, apart from the ears and space for the eyes, the body apart from arm space, and a little bit on the feet.


Make some more icing at this point if you’ve ran out. Sift in some cocoa powder and then add enough black colouring until you’re satisfied with the colour. Fill another piping bag and pipe in the eyes, arms, feet and three dots at the back as a tail. I started to cover the ears in this way until it fell off in my hand…the icing is far too heavy piped this way for the ear to withstand it so spread some onto the ears as you would normally with a knife.


Use a standard round nozzle to draw the nose and the mouth onto the Panda’s face.

Finally stick two milk chocolate buttons with white buttons attached as eyes, and blob a bit of black icing as pupils. I also stuck white buttons all around the ears just because I felt like it.


And that’s it. Panda panda panda. It does look a little lopsided after the heavy-ear incident but I think it looks quite cute that way.


Friday, 21 December 2012

Mum's Gingerbread Tree Decorations


I am home for Christmas for the first time since September! It’s absolutely boiling, because apparently the heating must always be on, which is something I’m definitely not used to being a poor student. The best thing is the cupboards and fridge stacked full of baking goodies. It is seriously exciting after living on potatoes for weeks.

This is a little warning that my blog will probably be inundated with ridiculous amounts of baking in the coming days.

We put up the Christmas tree when I got home yesterday (I made them wait) and we always make gingerbread decorations to hang. It’s pretty similar to the other gingerbread recipe I did here but my mum has much more exciting cookie cutters.

Ingredients

6oz butter

6oz light muscovado sugar

2 eggs, beaten

1 lb plain flour

2tsp baking powder

1-2tbsp ground ginger

2tsp ground mixed spice

First off sorry, I don’t have any photos of the method because my mum did it sneakily without me. It’s a really simple method though, and you can either do it by hand or use a food processor.

In a large bowl cream together the butter and sugar.

Gradually beat in the eggs.

Sift in the flour, baking powder, ginger and mixed spice.

Stir everything until well combined.

Turn the dough out onto a lightly floured surface and knead gently.

Wrap the dough in some cling film and leave to chill in the fridge for at least 30 minutes.

Preheat the oven to 180⁰C.
Roll the dough out onto a sheet of baking parchment until around 3mm thick.

Use whatever cookie cutters you like to make shapes. If you want to string the biscuits onto the tree, use a plastic straw to make a hole where you can thread some string.

To make stain-glass windows, bash some boiled sweets inside a plastic bag using a rolling pin. Use a smaller cookie cutter to make a shape in the middle and fill the whole with crushed sweets.


Bake the gingerbread for around 12 minutes or until very slightly brown on the edges.
Cool on a wire rack. When the biscuits are cool enough, cut some thread (sparkly if possible) and hand them on the tree!


Monday, 15 October 2012

Chocolate Penguin Cake


First of all, I hope everyone is just as excited as I am for the final of Great British Bake Off on Tuesday! I sort of want John to win, partly because he’s adorable but also because he’s ‘just a simple northern lad that dreams of being a pastry chef in Paris’ (N’awww).

I had what some people might find an odd request recently, which was could I possibly make a birthday cake for someone’s surprise party. Something that ideally would combine chocolate and penguins. You can see where this is going. So just to prove that I have been doing some baking recently, despite being a hideously busy 3rd year student, here’s how I made a chocolate penguin cake.
Ingredients
100g cocoa powder
12 tablespoons boiling water
6 large eggs
100ml milk
350g self-raising flour
2 teaspoons baking powder
200g butter, softened
550g caster sugar
For decoration
Around 200g butter
Somewhere near 2kg icing sugar
Black food colouring
Quite a lot of cocoa powder
Milk
Minstrels
Chocolate sprinkles
White royal icing
The first thing you should know when constructing a mahoosive cake like this is that it takes time. Because of this I baked all the cake layers the day before, and decorated the next morning, but it would be perfectly possible to do it all in one day if you didn’t have things like life getting in the way.
 I also made the royal icing decorations the day before, to give them the night to dry out a bit. To make them, roll out the royal icing quite thickly on a surface lightly sprinkled with icing sugar. Then, use a sharp knife to cut two round eyes, a round belly, a beak, two wings and two webbed feet. Leave them on a piece of baking parchment so that they don’t stick to anything. (Also if you have misplaced your rolling pin like me, an empty wine bottle works just the same…)
Preheat the oven to 180⁰C. Prepare all your tins with baking parchment. I used two sandwich tins, another round slightly smaller tin, and a small bowl. Don’t be an idiot like me and not line the bowl with baking parchment…you will see why in a minute.

In a large mixing bowl combine the cocoa powder and boiling water until it forms a smooth, thick chocolate paste.


Add all the other cake ingredients to the bowl and use an electric whisk to combine well.

Divide the mixture between the tins, with around half of the batter being used for the two sandwich tins.
Bake in the oven for 25-30 minutes or until springy in the middle.
Leave them to cool on a wire rack.
You will see from these photos that my bowl cake went very wrong. Since the bowl bit was supposed to be the round head of the penguin this was a bit of a nuisance. Basically half the cake stayed in the bowl when I tried to get it out. This is either because I didn’t let it cool enough before taking it out, or as I stated before from not lining it with baking parchment. Luckily, icing covers a whole host of sins so in the end it didn’t really matter. The penguin just looks a bit…squat.
Once the cakes are completely cooled you can begin to decorate. It’s important to point out that this recipe will require a bucket load of icing. I made two monstrous bowls of the stuff in the end.
In a large bowl, cream a huge knob of butter.

Sift in 3-6 big spoons of cocoa powder, depending on taste.

Sift in loads of icing sugar, alternating with small spoons of milk.
Add in some black food colouring, until the icing becomes a grey, brown colour (Think furry baby penguin here).
To assemble, first have your base ready.
Place one of the sandwich cakes on the bottom, with a few blobs of icing to make it stick to the base.
Thickly spread some butter icing on top, and place the other sandwich cake on top.
Repeat this, placing the smaller sandwich cake as the 3rd layer.
Finally ice this cake, and add the bowl cake as the head.
Now completely cover the cake in icing. (At this point I needed to make more)
Once the penguin is entirely covered, and you’re happy that there are no gaps it’s time to add the royal icing decorations. Start with the round belly bit. Blob a bit of icing all over it, like glue, and slap it onto the middle of the penguin. Press it down firmly for a good 30 seconds until it feels adhered.
Repeat this with the wings, feet, beak and eyes. Glue a minstrel into the middle of each eye with a bit of icing. To give the penguin a more ‘furry’ look, spike the icing all over the top of its head and cover with chocolate sprinkles. Do this around the belly and also the wings to give them some definition. Finally, prop something up against the beak whilst it’s drying because it’s quite heavy and you don’t want it to fall off.

After all that you should have a penguin cake! And not, as my delightful Pompey taxi driver called it, an owl that looks like it’s going for a shit…