Sunday, 8 April 2012

Easter Macaroons

We wanted to try Two Chicks egg white in a carton so I thought some little macaroons for Easter teatime would go down a treat. Macaroons are really easy to whip up and personalise with whatever flavours/colours you like! I made mine a light spring pink with a delicate vanilla flavouring. You’ll see from the pictures that the texture of my macaroons look a bit dodge; I’m blaming the weird egg whites and not the fact that I couldn’t be arsed to use a piping bag…However, despite them looking a bit spesh they still taste really nice so who cares.


Ingredients (makes 12 paired Macaroons)

2 medium egg whites, at room temp

150g caster sugar

120g ground almonds

120g icing sugar

Drop vanilla extract

Drop of food colouring

Preheat the oven to 140⁰C/ Gas Mark 1. Cover two trays with baking parchment. Draw 12 even circles with a diameter of 5cm on each tray.

Mix the egg white, caster sugar and any food colouring into a large mixing bowl, whisking until the mixture is thick.


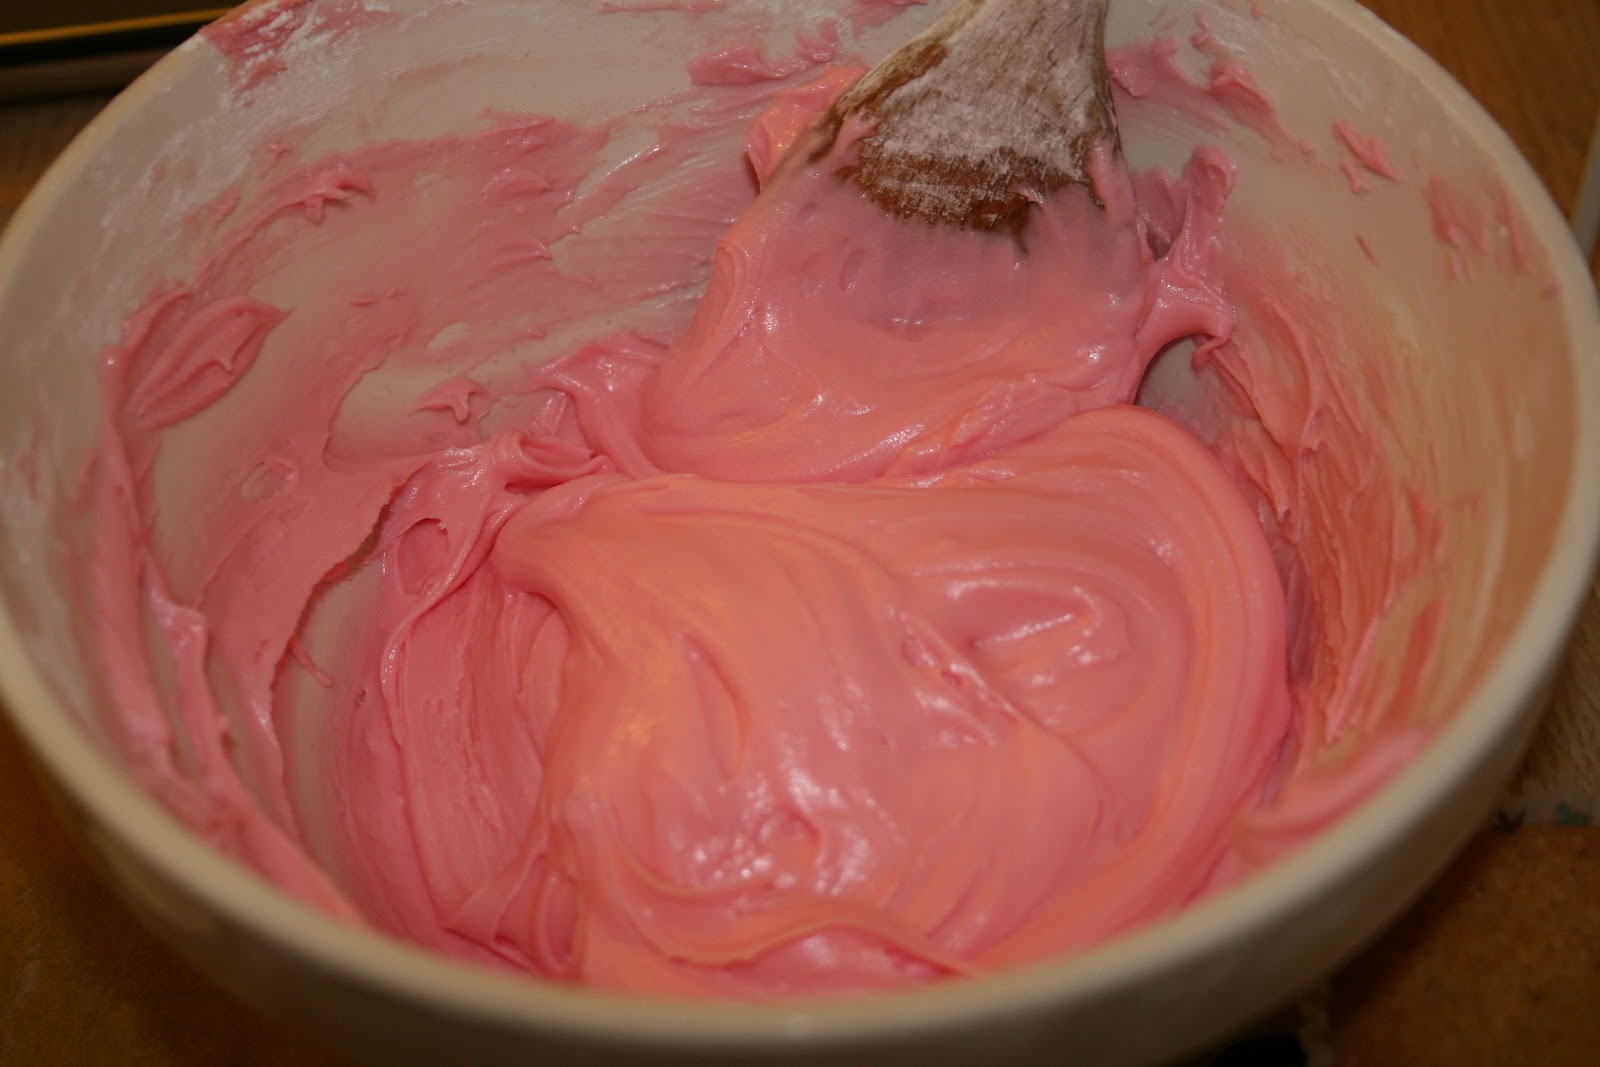
Combine the almonds and icing sugar, adding a spoonful at a time to the egg white mixture. Continue whisking until you have a shiny, thick mixture. (Mine shown here is a terrible example, again, clearly the egg whites fault…)
Pipe (or if lazy like me, spoon) mixture into the ready drawn circles. Leave the trays out at room temperature for about 10-15 minutes so that the macaroons can form a sort of skin, which stops them from spreading in the oven.
Bake for 25 minutes until firm. Cool on a wire rack.
Now for the filling! I wanted to try out more of the carton egg white so I decided to make a whoopie pie filling instead of the usual cream for macaroons.
Vanilla Swiss Buttercream
115g unsalted butter, softened
1 ½ large egg whites
50g caster sugar
½ tbsp golden syrup
Drop vanilla extract
Scraping vanilla bean paste
(Icing sugar is necessary)
In a small bowl cream the butter until fluffy. In a larger bowl combine the egg white, caster sugar, golden syrup and vanilla paste. Place the bowl over a saucepan of lightly simmering water and whisk continuously until the sugar has dissolved and the mixture is frothy and opaque.


Take off the heat and continue to whisk until fluffy and cooled. Add the butter a spoonful at a time, whisking well. The mixture might curdle but will come back together again.

My buttercream seemed really sloppy so I added some sieved icing sugar until it had a consistency that kept its shape.

Sandwich two macaroons with a spoonful of buttercream and serve on a pretty plate!
Happy Easter : )

Friday, 6 April 2012

Easter Bunny Cakes

There are so many goodies you can bake at Easter but I decided on a simple, pretty cupcake to have with a big cuppa this Good Friday. The sponge consists of a basic vanilla mixture then you can make your bunnies however you want!


Ingredients (Made 20 cakes)

4 eggs

10 0z self-raising flour

10 0z caster sugar

10 0z butter

2 teaspoons baking powder

Drop vanilla essence

Splash of milk

Being at home means I have my mother’s baking cupboard to rifle through as I please so I get to use her lovely old fashioned weighing scales and proper vanilla essence.

Preheat the oven to 180⁰C/ Gas Mark 5. Mix all the ingredients into a large mixing bowl until smooth.

Prepare a muffin tray with cases. These lovely ones are from Sainsbury’s. Fill them ¾ full with cake mixture.


Bake for twenty minutes or until golden and springy to the touch. Leave to cool on a wire rack.
To decorate my bunnies I first made ears by rolling out ready-made royal icing and cutting ear shapes. You wouldn’t know from these ears that I actually passed Art GCSE but hey ho, just like people, bunny ears come in all shapes and sizes…

Then I made butter icing with a large knob of butter, a dollop of cream cheese and lots of icing sugar. Because Easter Bunnies are pink, obviously, I put in a drop of Cochineal food colouring too.
Using a piping bag I swirled on some icing, stuck in a pair of ears and put three milk chocolate chips as eyes and a nose. Put them on a pretty plate then dole out to family and friends!


Sticky Ginger Parkin

This is a special guest recipe by non-other than Mother Ryan. She likes this recipe because it’s apparently a healthy cake (whatever), is really easy to make and keeps for ages. Being home means I also get to use my dad’s digital SLR camera so watch out for the scary, hi-def photos.

Ingredients
175g plain flour
200g caster sugar
125g porridge oats
1 teaspoon ground ginger
1 teaspoons bicarbonate of soda
200ml semi-skimmed milk
2 tablespoons golden syrup
110g butter
2 tablespoons of stem ginger, chopped
Preheat the oven to 150⁰C/Gas Mark 2. Sift the flour into a large mixing bowl. Mix in sugar, oats, ginger and bicarbonate of soda.
In a pan, gently simmer the milk with the syrup and butter until melted making sure it doesn’t boil.


Make a well in the dry ingredients and pour the melted mixture in. Mix together using a wooden spoon then pour the mixture into a square tin.


Bake for 45 minutes and leave to cool on a wire rack.


Mum says this cake gets better the more days you leave it but it never lasts that long in my house!


Sunday, 1 April 2012

Plain White Loaf

With a determination not to spend any money on food until I go home for Easter I found myself breadless. A sorry state of affairs for someone who often has bread for breakfast, lunch and dinner. Luckily in my store of random baking ingredients I had some bread flour and yeast! Going to look smug with my swanky home-made sandwiches on the train home tomorrow…(with nothing in them.)

Making bread from scratch is so ridiculously easy and hardly uses any ingredients. It’s also therapeutic if you imagine an annoying person’s face as you knead the dough.


Ingredients (Makes 1 large loaf of 2 medium ones)

675g strong white bread flour

1 ½ teaspoons salt

1 x 7g sachet of easy-blend yeast

425ml lukewarm water

I don’t have any loaf tins so baked them straight onto a buttered baking tray but if you want the loaves to look a bit more professional instead of like oddly looking boulders then use 2 x 450g tins.

Mix the flour, salt and yeast into a large mixing bowl.
Make a well in the middle and pour in the lukewarm water.

Using your hands gently mix the dough together by taking flour from the edges and hooking them into the centre. You can add a little more water/flour if the dough is too dry/sticky.

Turn the dough out onto a lightly floured work surface and knead thoroughly for ten minutes.
Return the dough to the bowl and cover with a damp tea-towel. Leave it to rise in a warm place for about an hour or until doubled in size.


Punch the dough to deflate it and turn out onto your lightly floured work surface. Divide the dough into two equal pieces (not my strong suit, clearly) and shape each into a rectangle. Roll up the dough from one end like a Swiss roll tucking the ends under. Place the loaf seam side down on the buttered tray. Put a bag over the tray, slightly inflated so the plastic doesn’t touch the dough, and leave the rise for another hour.


Near the end of the rising time preheat the oven to 230⁰C/ Gas Mark 8. Sprinkle some flour onto the dough and use a sharp knife to cut a deep slash along the loaves. Bake for 15 minutes then lower to temperature of the oven to 200⁰C/Gas Mark 6 and bake for another 15-20 minutes. The bread is done when it’s golden brown on top and the loaf sounds hollow when you tap underneath.


Cool on a wire rack and then eat with some butter or cheese if you have it!