Sourdough is something that you need silly amounts of free
time to do, so obviously now is the perfect window of opportunity. For one
thing to even make sourdough bread you have to make a sourdough starter, which
takes about three ruddy weeks. I’ve never made it at uni because I’ve never had
the time, but luckily my mum has too much of it to devote to these things. Generally
a sourdough loaf takes between 15-20 hours all in all, so give yourself at
least two days.
This first basic recipe makes enough dough for two loaves,
and then I’ve chosen to do two different variations just to be awkward. Don’t
be put off by my moaning about how long it takes, because sourdough is
exceptionally banging bread. It’s because it’s proved for so long that gives it
its distinctive taste. Eat it while it’s fresh! Oooh also, if you’re looking
for good sourdough recipes, look to Paul Hollywood’s How to Bake- it’s the sort
of book you want to use as a pillow, it’s that good.

Ingredients
750g strong white bread flour, plus extra for dusting
500g sourdough starter
15g salt
350-450ml tepid water
Olive oil for kneading
This is a picture of the sourdough starter, which is made
out of flour and apple and other bits and bobs which you have to ‘feed’ after
every time you use it.


Add 350ml of water and start to mix using your hands,
picking up all the flour from the sides of the bowl. If you need to add a
little more water, but be careful not to add too much.


When you’ve formed a rough dough, drizzle a work surface
with a little olive oil and tip the dough out onto it.
Knead for a good 10 minutes until the dough feels soft and
smooth.


Place the dough into a lightly oiled bowl and cover with a
tea towel. Leave to rise for 5 hours or until doubled in size.


This is where the method splits into two for each type of
bread.
The first one I chose is an Apple and Cheddar Sourdough
Extra ingredients
150g cheddar, grated
2 small dessert apples, cored and roughly chopped
After the dough has been left to rise for 5 hours, split it
into two equal halves and use on half for this bread.

Lightly flour a work surface and tip the bread out,
squishing it a bit to knock some of the air out. Flatten one of the halves into
a large rectangle, around 2cm deep.

Sprinkle 100g of the grated cheese onto one side of the
rectangle of dough, leaving a clear margin around the edges. Top with the
chopped apples then fold over the dough to make a sort of parcel. Press down
the edges to make sure the loaf is firmly sealed.

Cover a tray with a muslin cloth and dust heavily with
flour. Place the loaf onto it, then put the whole tray inside a clean plastic
bag.


Leave it to prove for about 13 hours or until doubled in size.
I left it overnight.
When the dough’s ready to be baked, transfer it onto a tray
lined with baking parchment. Heat the oven to 200⁰C.

Sprinkle the top of the loaf with the remaining 50g of
cheese, and use your finger to make a deep indentation all the way along the
centre of the loaf. Bake for 35 minutes, or until the loaf sounds hollow when
you tap the base.

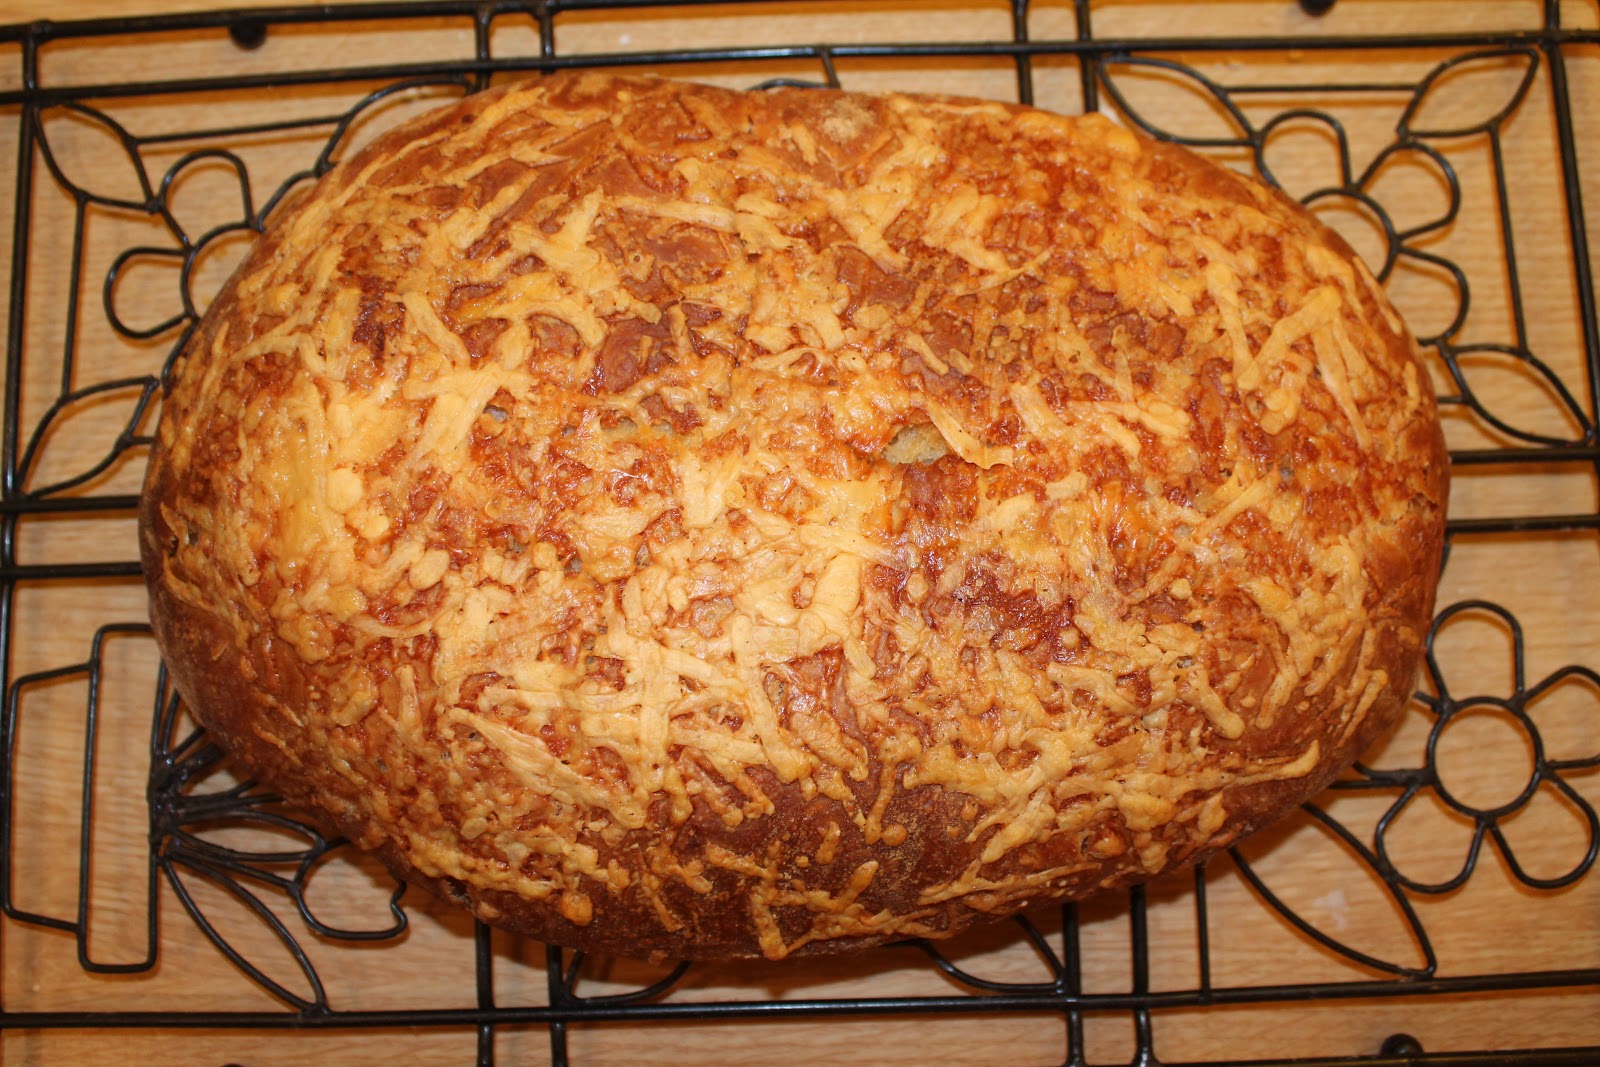
This sourdough would definitely taste amazing with a nice,
cold pint of cider.


For the other loaf I made a Smoked Bacon and Garlic Sourdough
Extra Ingredients
2 small garlic bulbs
Olive oil
100g smoked bacon
While the dough is going through its first rise, prepare the
filling for this loaf. Heat the oven to 190⁰C, cover the garlic bulbs in olive
oil and place inside a parcel of foil. Roast for about 45 minutes or until
tender. When it’s cooled, crush it into a puree. (Note: For whatever reason, I
failed miserably at this and managed to burn my garlic into ash. I definitely
could not be bothered to wait around for another 45 minutes though, so I just
fried some lazy garlic for a few minutes. Personally I think it worked just as
well…)
Heat a small frying pan and cook the smoked bacon until just cooked. Roughly chop into small bits with a pair of scissors.


After the first rise, and division of dough, knock the air
out as before. Flatten out the dough. Spread the garlic all over one side, and
top with the bacon.


Roll up the dough (definitely misread this and folded it
instead, woops). Shape it into an oval. Cover a baking tray with a muslin
cloth, sprinkled heavily with flour. Pop the tray inside a plastic bag and
leave for 9 hours or until doubled in size. I left both loaves to prove
overnight and it didn’t seem to do any harm to leave them for a bit longer.

When the dough is ready to be baked, heat the oven to 200⁰C.
Place the loaf onto a tray covered with baking parchment. Sprinkle a little bit
of water all over its surface and lightly coat it in flour. Bake for 35 minutes
or until hollow when you tap its underside. Cool on a wire rack.


And just to show that we have been going a bit baking mad in
the Ryan kitchen- here’s some cupcakes we made for the hell of it.