It was my lovely uni housemate’s 21st in August
but I couldn’t be there to celebrate with her so I decided a cake was in order.
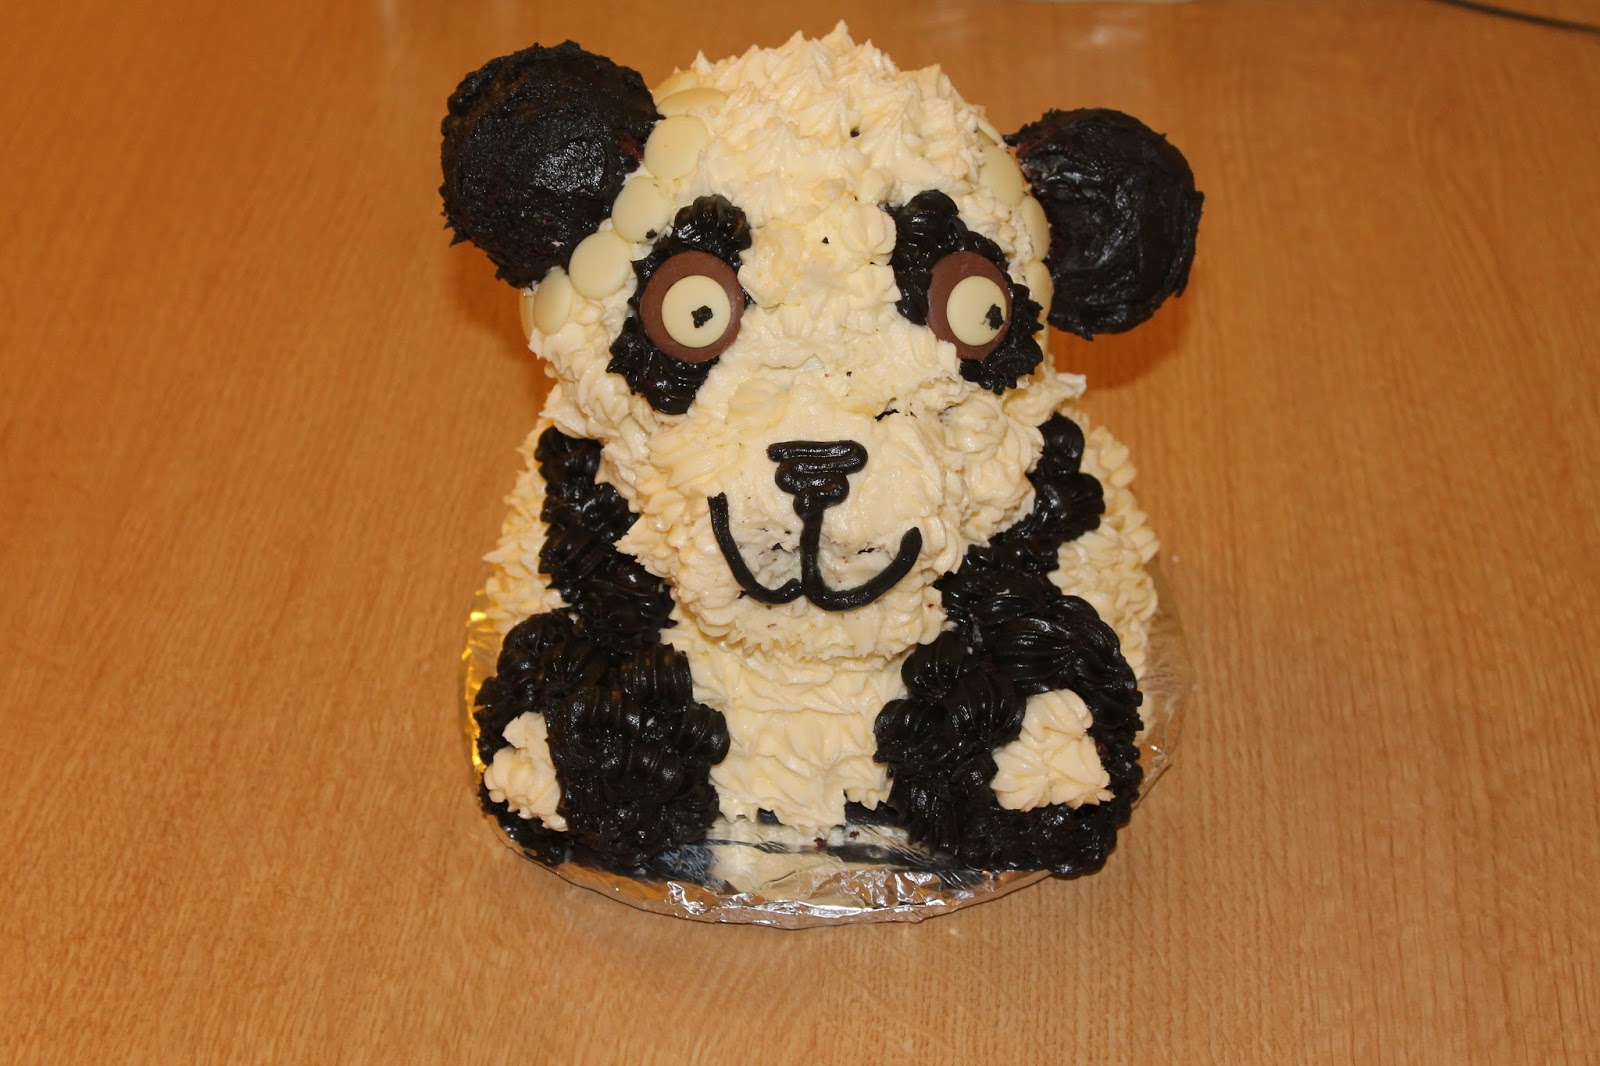
If you met her you would understand the decision to make a panda cake. I think
she might have been a panda in another life…It was pretty fun trying to
assemble it as well, although transporting it across London was a tad
treacherous (it only got slightly squished though so it’s all good).
Things that I learnt from making this cake: when assembling
odd shaped cakes have a mass of cocktail sticks on hand.

Ingredients
8 eggs
13oz self-raising flour
16oz butter
16oz caster sugar
3oz cocoa powder
4 ½ tsp baking powder
To decorate
Lots of butter
Butt load of icing sugar
Cocoa powder
Black colouring
Milk and white chocolate buttons
Don’t panic about the massive amount of ingredients! I
started off with a 6 egg mixture but I had to make a little extra afterwards
for the small cakes, and there was some leftover.
Preheat the oven to 180⁰C. Firstly prepare a medium-sized
pudding bowl and a small hemisphere pan by lightly greasing them all over, and
dusting with flour.


I used my mum’s KitchenAid for this (my one’s in storage
until I have my own kitchen again), but a large mixing bowl and an electric hand
mixer will do the job just as well.
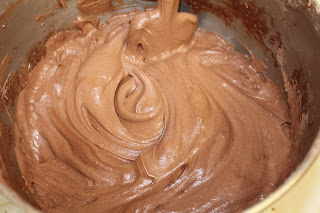
Cream the butter and sugar together until light and fluffy.


Add the eggs and mix again.


Sift the flour, baking powder and cocoa powder into the bowl
and gently combine all the ingredients together to form a smooth batter.


Fill the pudding bowl about ¾ of the way with batter and do
the same with the hemisphere pan. Leave the leftover batter to the side, and
bake these two in the oven until a skewer inserted into the middle comes out
clean. For the pudding bowl this took about 1 hour 45 minutes, and the
hemisphere pan took around 1 hour 15 minutes. After an hour I covered the
pudding bowl one in foil to avoid burning the top. Leave to cool in the
bowl/tin for at least 15 minutes before turning out onto a wire rack to cool.


When the hemisphere pan has completely cooled, wash it and
prepare in the same way. Fill this with mixture. Prepare a cupcake tray with 12
cases and divide the remaining mixture equally between them. Bake the
hemisphere pan as before and the cupcakes for 15-18 minutes or until springy to
the touch. Leave everything to cool completely before you begin
assembling/decorating.


To decorate you need a huge amount of icing. Start by making
a standard white buttercream by mixing together butter and icing sugar until it
reaches the consistency where it’s spreadable but will hold its shape.


I didn’t have any cake boards so I cut out a round of
cardboard and covered it in tin foil to make the base. Slap a bit of icing onto
the middle of it to give the cake something to stick to.


Place the pudding bowl cake, fat size down, onto the base. Have
it slightly towards one edge so that there’s room for the feet.


Cover the top in icing then stick 4 cocktails sticks in a
square into the top of the cake and gently press one of the hemisphere cakes
into it. (Before this I had to trim the hemisphere cakes slightly to make sure
they went together to create a round head shape.)


Cover that in icing then place the other hemisphere cake on
top to create the head.
Get two of the cupcakes and cut a little crescent moon shape
out of each side to make the ears. Plop some icing on the side of the head and
on the cupcake where you want it to stick and firmly press together. Pop a
cocktail stick through the ear and into the head to secure it. Repeat on the
other side.


Shave the ‘muffin top’ bit off of a cupcake and secure onto
the front of the head with icing and cocktail sticks to make the muzzle. (For
some reason I forgot to take a photo of this bit, sorry.)
Adhere two cupcakes to the bottom of the pudding cake as
with the ears to make the feet. You’re now ready to decorate!


Attach a medium-sized star nozzle to a piping bag and fill
with the white buttercream.


Work your way around the cake, piping small blobs of icing.
It helps to sketch a little doodle of which bits should be white and which
should be black. The white is the head, apart from the ears and space for the
eyes, the body apart from arm space, and a little bit on the feet.


Make some more icing at this point if you’ve ran out. Sift
in some cocoa powder and then add enough black colouring until you’re satisfied
with the colour. Fill another piping bag and pipe in the eyes, arms, feet and
three dots at the back as a tail. I started to cover the ears in this way until
it fell off in my hand…the icing is far too heavy piped this way for the ear to
withstand it so spread some onto the ears as you would normally with a knife.


Use a standard round nozzle to draw the nose and the mouth
onto the Panda’s face.
Finally stick two milk chocolate buttons with white buttons
attached as eyes, and blob a bit of black icing as pupils. I also stuck white
buttons all around the ears just because I felt like it.


And that’s it. Panda panda panda. It does look a little
lopsided after the heavy-ear incident but I think it looks quite cute that way.


No comments:
Post a Comment