First of all, I hope everyone is just as excited as I am for
the final of Great British Bake Off on Tuesday! I sort of want John to win,
partly because he’s adorable but also because he’s ‘just a simple northern lad
that dreams of being a pastry chef in Paris’ (N’awww).
I had what some people might find an odd request recently,
which was could I possibly make a birthday cake for someone’s surprise party.
Something that ideally would combine chocolate and penguins. You can see where
this is going. So just to prove that I have been doing some baking recently,
despite being a hideously busy 3rd year student, here’s how I made a
chocolate penguin cake.

Ingredients
100g cocoa powder
12 tablespoons boiling water
6 large eggs
100ml milk
350g self-raising flour
2 teaspoons baking powder
200g butter, softened
550g caster sugar
For decoration
Around 200g butter
Somewhere near 2kg icing sugar
Black food colouring
Quite a lot of cocoa powder
Milk
Minstrels
Chocolate sprinkles
White royal icing
The first thing you should know when constructing a
mahoosive cake like this is that it takes time. Because of this I baked all the
cake layers the day before, and decorated the next morning, but it would be
perfectly possible to do it all in one day if you didn’t have things like life
getting in the way.
I also made the royal icing decorations the day before, to
give them the night to dry out a bit. To make them, roll out the royal icing
quite thickly on a surface lightly sprinkled with icing sugar. Then, use a
sharp knife to cut two round eyes, a round belly, a beak, two wings and two
webbed feet. Leave them on a piece of baking parchment so that they don’t stick
to anything. (Also if you have misplaced your rolling pin like me, an empty
wine bottle works just the same…)

Preheat the oven to 180⁰C. Prepare all your tins with
baking parchment. I used two sandwich tins, another round slightly smaller tin,
and a small bowl. Don’t be an idiot like me and not line the bowl with baking
parchment…you will see why in a minute.

In a large mixing bowl combine the cocoa powder and boiling
water until it forms a smooth, thick chocolate paste.


Add all the other cake ingredients to the bowl and use an
electric whisk to combine well.


Divide the mixture between the tins, with around half of the
batter being used for the two sandwich tins.

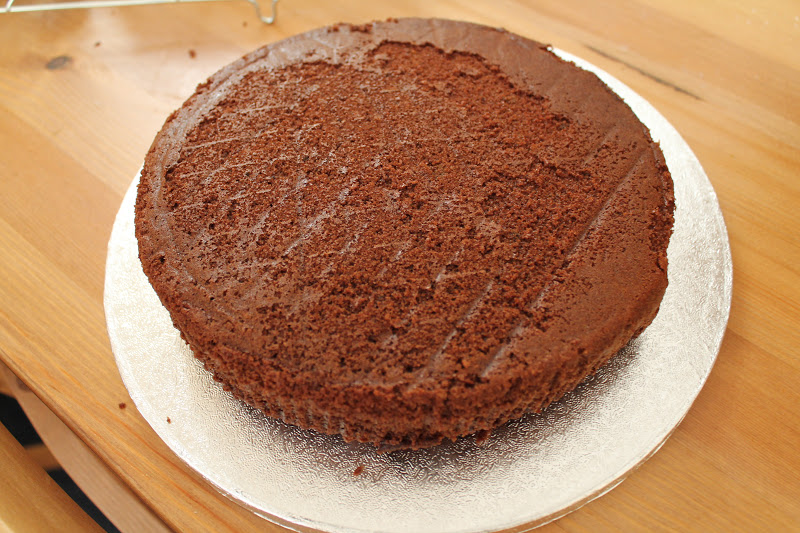
Bake in the oven for 25-30 minutes or until springy in the
middle.

Leave them to cool on a wire rack.

You will see from these photos that my bowl cake went very
wrong. Since the bowl bit was supposed to be the round head of the penguin this
was a bit of a nuisance. Basically half the cake stayed in the bowl when I
tried to get it out. This is either because I didn’t let it cool enough before
taking it out, or as I stated before from not lining it with baking parchment.
Luckily, icing covers a whole host of sins so in the end it didn’t really
matter. The penguin just looks a bit…squat.
Once the cakes are completely cooled you can begin to
decorate. It’s important to point out that this recipe will require a bucket
load of icing. I made two monstrous bowls of the stuff in the end.
In a large bowl, cream a huge knob of butter.


Sift in 3-6 big spoons of cocoa powder, depending on taste.


Sift in loads of icing sugar, alternating with small spoons
of milk.

Add in some black food colouring, until the icing becomes a
grey, brown colour (Think furry baby penguin here).

To assemble, first have your base ready.

Place one of the sandwich cakes on the bottom, with a few
blobs of icing to make it stick to the base.
Thickly spread some butter icing on top, and place the other
sandwich cake on top.

Repeat this, placing the smaller sandwich cake as the 3rd
layer.

Finally ice this cake, and add the bowl cake as the head.


Once the penguin is entirely covered, and you’re happy that
there are no gaps it’s time to add the royal icing decorations. Start with the
round belly bit. Blob a bit of icing all over it, like glue, and slap it onto
the middle of the penguin. Press it down firmly for a good 30 seconds until it
feels adhered.
Repeat this with the wings, feet, beak and eyes. Glue a
minstrel into the middle of each eye with a bit of icing. To give the penguin a
more ‘furry’ look, spike the icing all over the top of its head and cover with
chocolate sprinkles. Do this around the belly and also the wings to give them
some definition. Finally, prop something up against the beak whilst it’s drying
because it’s quite heavy and you don’t want it to fall off.


After all that you should have a penguin cake! And not, as
my delightful Pompey taxi driver called it, an owl that looks like it’s going
for a shit…

No comments:
Post a Comment