Sunday, 10 June 2012

Raspberry and White Chocolate Blondies


My dad came up to me earlier, face full of concern. “I saw Stork and eggs in the kitchen…you’re not baking AGAIN are you?” My reply of furtive silence was met by him screaming “you’re OBSESSED.”

You’d think I was snorting crack cocaine or something the way he went on about it. I admit I have baked a lot this week, but I’ve just been so darn excited by all the EGGS and SUGAR and things I can’t afford at uni. So sorry dad, but I promise I’ll give these away to other people and not torture you by filling the kitchen with tasty things…grumblegrumblegrumble.

Anyway, I am a big fan of the humble brownie, or anything involving chocolate really. When I caught wind of the blondie I had a sort of mini baking spaz attack. I have no idea why I’ve never come across them before but there’s no going back now…
Ingredients
200g butter
150g white chocolate, roughly chopped
300g light muscovado sugar
3 large eggs
200g plain flour
¼ tsp salt
Scraping vanilla bean paste
125g raspberries
Preheat the oven to 170⁰C/gas mark 4. Butter and line a rectangular tin with baking parchment. The one I used ended up being a bit too shallow, so I suggest a deep sided one to avoid my panic stricken oven watching to see if the mix would spill over the sides.

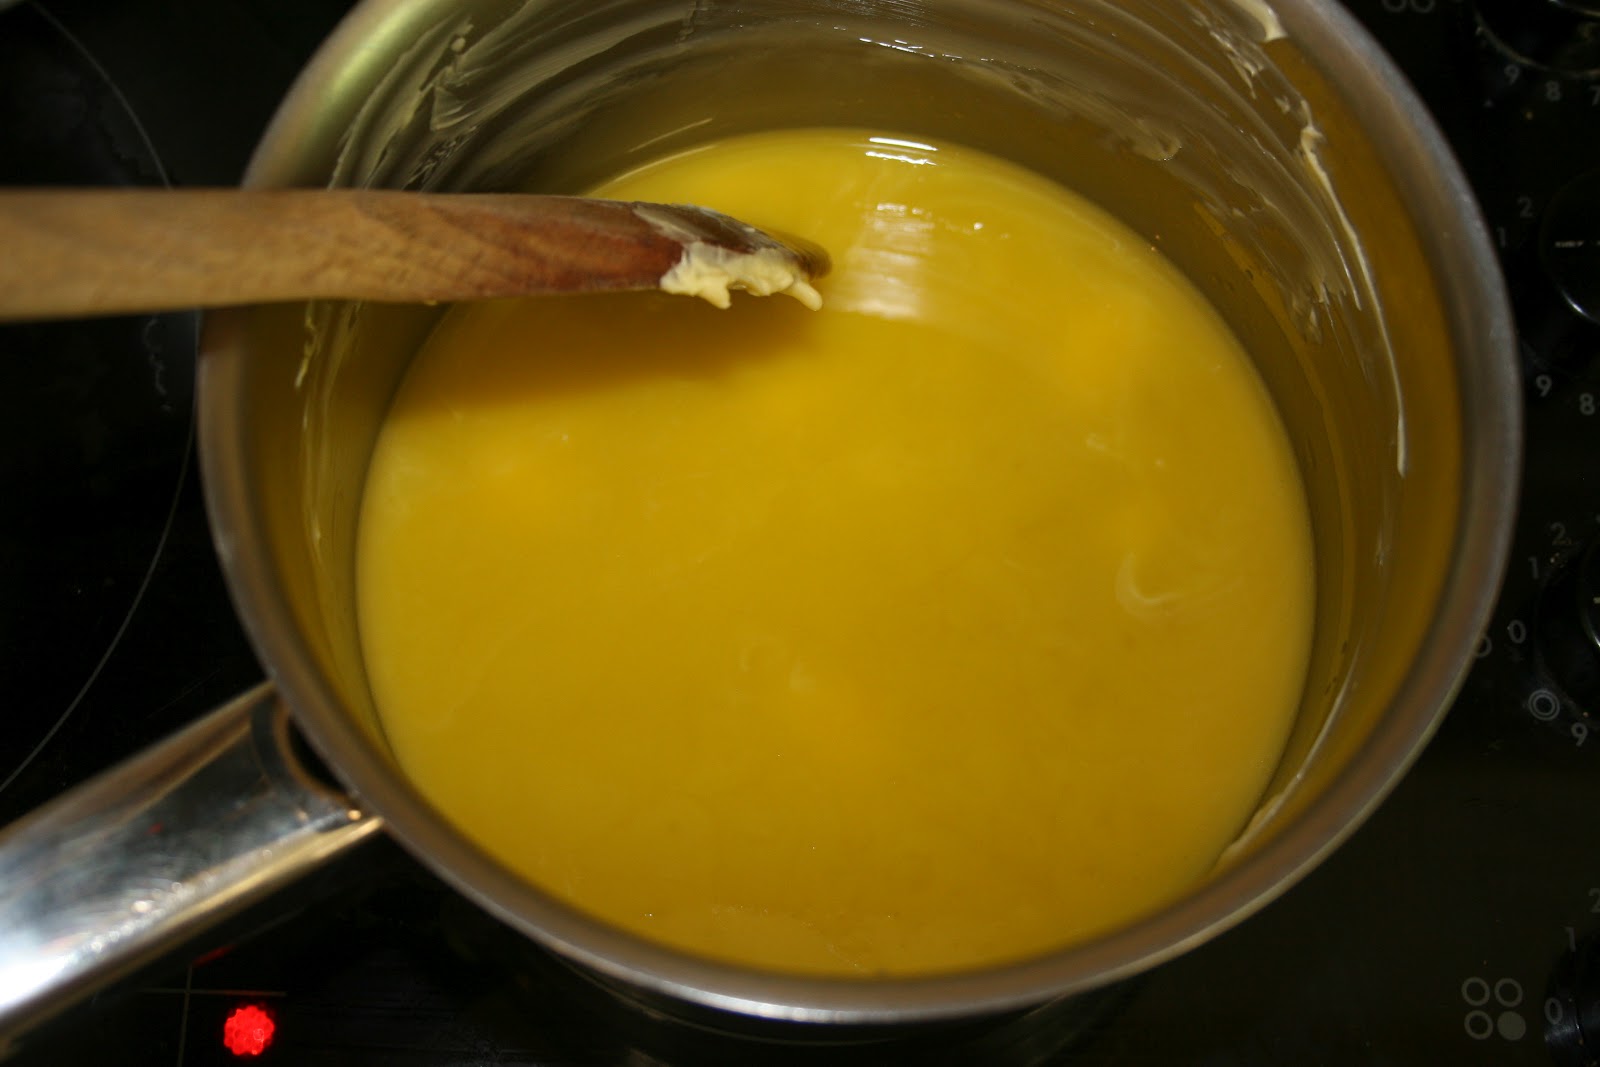
Melt the butter in a saucepan over a gentle heat and cook for around 5 minutes until it turns a lovely golden brown. Cool for a few minutes before adding half of the white chocolate. Leave it to melt for a bit before stirring until smooth. Leave to cool to the side.


Use an electric whisk to mix the muscovado sugar and eggs for about 3 minutes in a large mixing bowl.

Add the flour, salt and vanilla and fold in using a spatula.


Finally add the cooled chocolate butter and fold in gently with the spatula until combined.
Pour the mixture into the tin then sprinkle the other half of the chocolate and raspberries on top.
Bake for 40-45 minutes or until dark golden on top.
Leave to cool completely in the tin before cutting into 15 large squares or 30 smaller ones.


My blondies had more of a dense cake texture than a brownie one. I’m not sure what blondies are meant to be like having never made them before but they tasted amazing even if they weren’t quite right!


Friday, 8 June 2012

Peanut Butter Cookies


My dad is always banging on about peanut butter being a good source of protein/good for his diet/blahblahblah so I thought I’d use it in some baking so he has no excuse but to eat it! You’ll see from the ingredients that I used wholemeal self-raising flour and wholenut peanut butter but this was purely to please the rents, so go ahead and use normal flour and peanut butter if you like.
Ingredients
100g butter
100g peanut butter (smooth, crunchy, wholenut, whatevs)
60g Demerara sugar
60g caster sugar
1 large egg, beaten
100g wholemeal self-raising flour
20g salted peanuts
40g milk chocolate chips
Preheat the oven to 170⁰C/gas mark 4. Line 1-2 baking trays with baking parchment. This mixture makes around 10 large cookies or 20 smaller ones but whatever you do, adjust baking time accordingly!
Cream the butter, sugars and peanut butter with a wooden spoon in a large mixing bowl.


Sift the flour and gradually add the beaten egg to form a sticky dough.


Mix in the peanuts and chocolate chips. Spoon blobs onto the prepared trays, leaving plenty of room for spreading.


Bake for 15-20 minutes or until light golden brown. Leave the cookies a few minutes to harden before transferring to a wire rack to cool.


I really love these cookies, but then I’m the kind of girl that adds minstrels to my salted popcorn at the cinema, so I would! When I’m out of the diet-mad house I’m definitely going to try these again with normal flour and crunchy peanut butter to see what difference it makes.


Thursday, 7 June 2012

Wholemeal Ginger Traybake


Sometimes you just want cake. Not oaty cake or fruity cake. Not biscuits or tarts. CAKE. This is a recipe for one of those days. I’m a massive fan of the traybake because they feed a lot of people and are generally a doddle to do. Also if you don’t have a traybake tin you can easily use a roasting tin instead. This recipe is one from my Mary Berry book which has loads of ginger cake recipes, but I chose the ‘wholemeal’ one so I could tell my mum that it’s good for you. We all know that’s bollocks so if you can’t be bothered with the wholemeal bit just replace it with normal self-raising flour.
Ingredients
175g butter
350g golden syrup
120g granulated sugar
1 ½ tbsp orange marmalade
200ml milk
175g self-raising flour
1 ½ tsp ground ginger
1 ½ tsp ground mixed spice
½ tsp bicarbonate of soda
175g wholemeal self-raising flour
3 large eggs, beaten

For icing
3 tbsp lemon juice
225g icing sugar
Crystallised ginger to decorate
Preheat the oven to 160⁰C/gas mark 3. Butter and line a 30 x 23 cm traybake tin with baking parchment.

On a low heat melt the butter, syrup, sugar, marmalade and milk in a saucepan until the sugar has completely dissolved. Leave it on the side to cool for a bit.


In a large mixing bowl sift the self-raising flour with the ginger, mixed spice and bicarbonate of soda. Add the wholemeal flour and stir all the dry ingredients together.


Pour in the melted butter and syrup mixture into the dry ingredients with the beaten eggs. Combine well with a wooden spoon to make a smooth batter. Pour into the tin and bake in the oven for around 1 ½ hours or until it is golden brown and springy in the middle. Allow the cake to cool for a few minutes in the tin before transferring to a wire rack.


You can see from the pictures that my icing is a bit sloppy. This is 100% down to my complete and utter laziness- I just couldn’t be bothered to weigh out the icing sugar, so I just sort of added a random amount of lemon juice to a random bowl of icing. It still tastes lovely but I have to admit it looks a bit naff so I would advise maybe following the recipe… then just add some crystallised ginger to finish.


As it’s a horrible, rainy day that feels more like September than June I’m planning on having some of this for my tea with some hot custard. Laaaavely jubly.


Wednesday, 6 June 2012

Cherry oat squares


Another recipe from June’s Good Food (last one I swear.) These were really quick and easy to make and made a lovely pudding with some custard if you fancied it.

Ingredients

140g butter, melted

100g self-raising flour

175g caster sugar

175g porridge oats

1 egg, beaten

100g glacé cherries, halved

50g dark chocolate

Heat the oven 170⁰C/gas mark 4. Butter and line a 22cm square tin.

Mix together the flour, sugar and oats into a large mixing bowl.

Melt the butter in a pan. Add the egg, cherries and melted butter to the flour mixture and combine completely. Pour the mixture into the tin and spread evenly with a fork. Bake in the oven for 20-25 minutes or until light golden brown.


Cool in the tin for about 10 minutes then turn onto a wire rack. Mark it lightly into 16 squares. Melt the chocolate over some simmering water and drizzle over the squares.

I think my dieting parents are either going to throw me out the house or ban me from the kitchen soon. I am apparently being an ‘enabler’ by baking nice things for them. Sounds like I’m a drug pusher but with cake!

Sugar and spice rock cakes


With a house full of people whatever I bake seems to magically disappear in a day. This is good for me because I’m allowed to bake whatever I want but it can’t be good for my family’s waistlines…Anyway, I’ve been working my way through the recipes I fancy in June’s Good Food mag and I thought I’d give these a whirl. You’ll see from my pictures that my rock cakes look more like biscuits than ‘cakes’. I have no idea why this is but they were all eaten in record time so who cares?
Ingredients (makes 10)
200g self-raising flour
1 tsp baking powder
1 ½ tsp mixed spice
100g butter
85g light muscovado sugar
100g dried mixed fruit
1 egg, beaten
2 tbsp milk
Demerara sugar for sprinkling
Preheat the oven to 170⁰C/gas mark 4. Line a tray with baking parchment. Combine the flour, baking powder and 1 tsp of mixed spice in a large mixing bowl.
Add the butter and rub it into the dry ingredients using your fingers until they form fine crumbs.


Mix in the muscovado sugar and fruit. Add the egg and milk. Mix it all together to create a firm dough.


Spoon ten dollops of mixture onto the baking sheet, leaving some room for spreading. Mix together the remaining mixed spice with a spoonful of Demerara sugar and sprinkle over the cakes. Bake for 20-25 minutes or until golden brown.

According to the original recipe it says these taste best eaten on the day they’re made, but I’m no authority on this seeing as I went to the cinema after I made them and only one was left by the time I arrived home…